
When the VGA light on your motherboard turns on it means your graphics card or its connection to the motherboard has failed. The fault leads to complete absence of display signals. Simple troubleshooting checks of GPU seating and power connections help bring immediate resolution to this problem.
You can learn everything about the VGA Light and its causes alongside the effective repair solutions from our upcoming discussion.
Table of Contents
What Does the VGA Light on a Motherboard Mean?
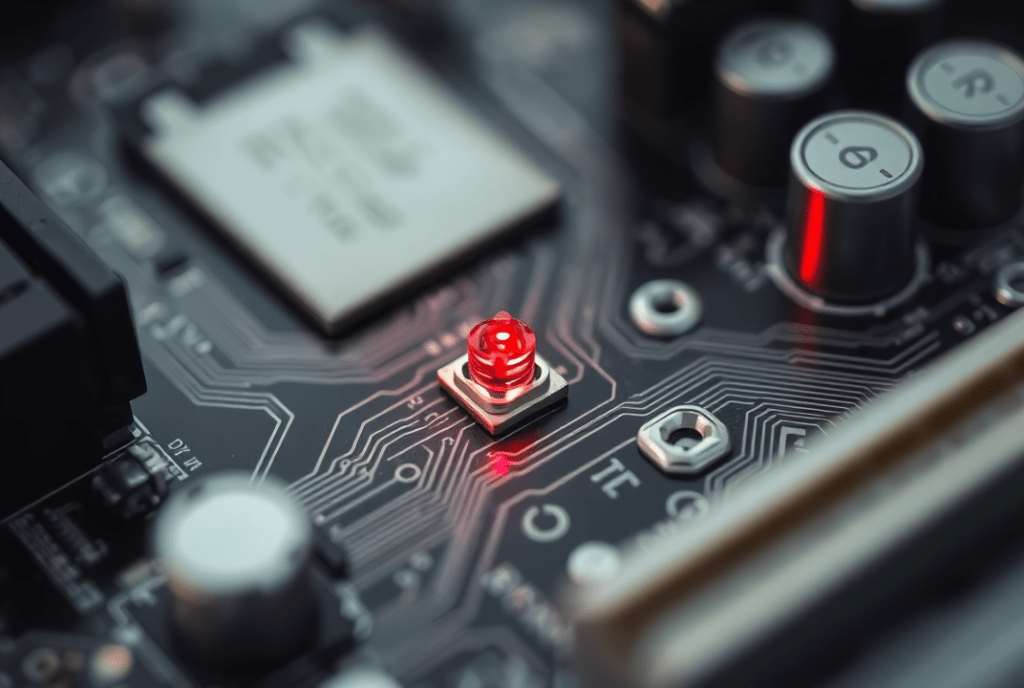
A diagnostic LED system built into motherboards provides information about hardware problems. The VGA light indicator highlights GPU or its interface issues to the main system when it turns on. The VGA light turns on due to problems with the hardware components together with software and power supply problems. This illuminated signal serves as a tool that speeds up diagnosis of system problems.
Common Causes of VGA Light Activation
1. Hardware Connection Issues
- GPU Not Seated Properly: The PCIe slot will fail to detect the GPU if it does not have a secure connection between them.
- Loose Power Cables: The VGA light becomes active when thermal sensors reach or exceed 80°C. Meanwhile, power cables improperly connected to either the GPU or monitor can also activate this indicator.
2. Driver Problems
- Outdated Drivers: The use of unaired or old-fashioned GPU drivers can result in device interrupts.
- Faulty Updates: Driver update releases sometimes contain defective programming codes which cause performance problems and breakdowns.
3. BIOS/UEFI Settings
- Incorrect Graphics Configuration: The BIOS currently selects integrated graphics over the discrete GPU as its main graphics output.
- Outdated BIOS Firmware: Newer GPUs become unidentifiable to graphical systems running outdated BIOS versions.
4. Power Supply Unit (PSU) Issues
- Insufficient Power: A power supply unit without sufficient capabilities will be unable to energize the GPU.
- Failing PSU: Insufficient power delivery through an unstable power supply will cause GPU malfunction.
5. Other Hardware Failures
- Defective GPU: A defective graphics card will lead to a system failure that prevents startup.
- Faulty PCIe Slot: The GPU’s connection may fail if there is damage to the PCI express slot of the motherboard.
- Damaged CMOS Battery: System initialization errors can happen because of a dead CMOS battery.
Read More : How to Fix a Yellow Light on Motherboard: A Comprehensive Guide 2025!
Step-by-Step Troubleshooting Guide

1. Preliminary Checks
- Test the Monitor: Check if your monitor functions properly by linking it to another piece of equipment.
- Check Cable Connections: Double-check that every power cable and every display cable as well as all data cables have a secure connection.
2. Physical Inspections
Power Down the System: Turn off the system from the power source before touching its components.
Reseat the GPU:
- Before continuing check the GPU for both dust accumulation and physical deformations.
- You should cleanse the PCIe slot together with the GPU connectors by blowing compressed air into them.
- Once positioned correctly remove your hand and observe the GPU to check for a firm clicking sound.
Inspect the Motherboard: Compare the computer hardware with safe operation by checking for obvious destruction of elements alongside any deformed connector pins.
3. Test Individual Components
Test the GPU:
- After installing the GPU into an alternate system, verify its functionality.
- Put a different graphics processing unit in your computer to check the PCIe expansion slot functionality.
Test the RAM:
Test your system deployment with either one RAM component to eliminate memory-related problems.
4. Update BIOS/UEFI
- Reset the BIOS to default settings.
- Access the most current BIOS version through your motherboard manufacturer’s website download section.
- Follow the manufacturer’s instructions to update your BIOS software.
5. Address Power Supply Problem
- Check PSU Wattage: Your GPU requires enough power which your PSU needs to deliver reliably. Intel’s GPU documentation shows necessary power levels.
- Test PSU Stability: Testing voltage output requires either a multimeter or PSU tester device.
6. Reinstall GPU Drivers
- Boot into Safe Mode.
- To clear previous GPU drivers completely use DDU (Display Driver Uninstaller) as your tool.
- You should download then install the most current drivers of your GPU from the manufacturer website.
7. Use Integrated Graphics (If Available)
- You should disconnect the GPU component and use an attachment that connects your monitor to the video output terminals of the motherboard.
- Pyramid3-Sub Bootulus will enable you to verify the integrated graphics operation.
Advanced Solutions
1. Replace the CMOS Battery
- A failing CMOS battery can cause improper initialization. Replace it with a new CR2032 battery and reset the BIOS.
2. Check for Motherboard Damage
- Look for signs of damage to the PCIe slot or other components.
- If damage is detected, consult a professional technician.
3. Test the System in a Minimal Setup
- Remove all non-essential components (e.g., extra storage drives, additional RAM sticks) to isolate the problem.
- Boot the system with only the CPU, one RAM stick, and the GPU connected.
Tips for Preventing VGA Light Issues
- Secure Components: Ensure all components are properly seated and secured, especially during transport.
- Regular Maintenance: Clean your PC regularly to prevent dust buildup.
- Monitor PSU Health: Replace aging power supplies to avoid instability.
- Handle Components Carefully: Always follow ESD precautions when handling hardware.
When to Seek Professional Help
If the VGA light remains on despite following these steps, it’s time to consult a professional. Persistent issues may indicate more serious hardware problems that require advanced diagnostics and repair tools.
FAQs
1. What does the VGA light on my motherboard mean?
When your VGA light turns on this indicates your GPU or its motherboard connection has developed an issue.
2. Can a faulty PSU cause the VGA light to turn on?
When your PSU fails the system will interrupt power delivery to the GPU thereby causing the VGA light to activate.
3. How can I reset my BIOS?
BIOS resets are possible through both removing the CMOS battery along with using the BIOS reset jumper on the motherboard hardware.
4. Will updating the BIOS fix the VGA light issue?
Regular BIOS updates address system compatibility issues which should solve the lighting problem.
5. Should I replace my GPU if the VGA light stays on?
Run a GPU test in a different system to determine if it needs replacement. A problem exists either with your motherboard or your power supply.
Conclusion
In conclusion, the VGA light on a motherboard usually indicates issues with the GPU or its connection. Common causes include improper GPU seating, power supply problems, outdated drivers, or BIOS misconfigurations. To fix it, ensure proper connections, reseat the GPU, update drivers and BIOS, and check the PSU. If the issue persists, consider testing the GPU in another system or consulting a professional. By following these troubleshooting steps, you can resolve the VGA light problem and get your system running smoothly again.