
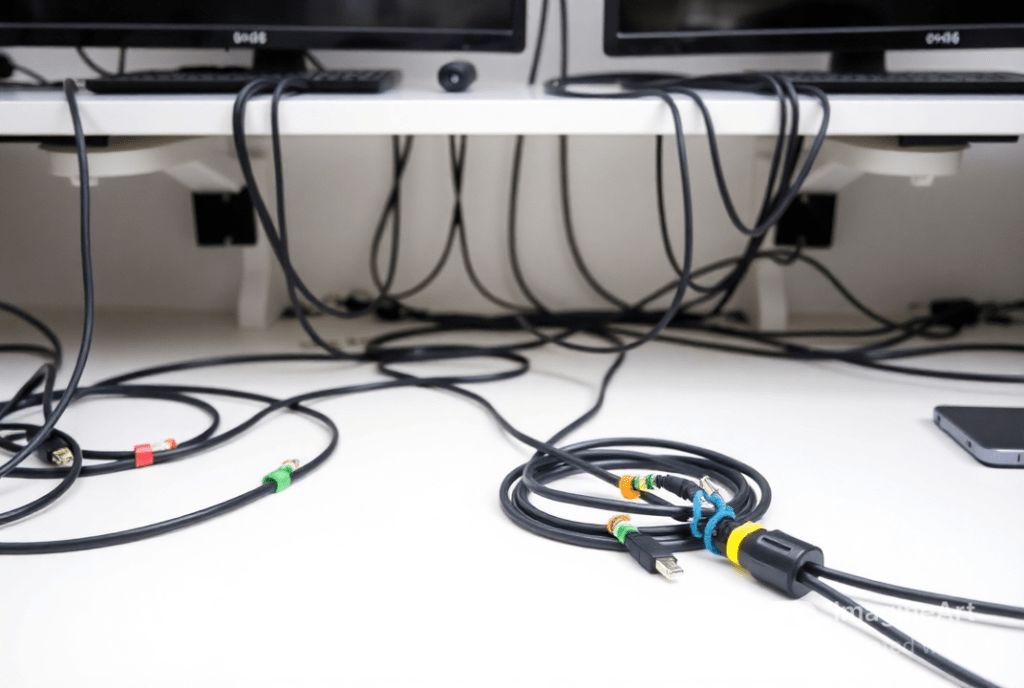
After struggling with cable clutter in my first PC build, I realized how crucial cable management is for a clean motherboard installation. Not only did I wash and air dry the cables for several hours, I also properly routed and tied them up which not only improved the ventilation but also made my system clean and tended with much less hassle. Now, I always prioritize neat cables to ensure better performance and a visually appealing setup.
Effective cable management is key to a clean motherboard installation, improving airflow and system performance.Tools such as the cable ties, sleeves and probably getting a case that is amicable to cables will help in keeping a neat and organized working arrangement of the cables. Proper planning and securing cables also benefit in terms of maintenance and for the future additions or change.
We will continue with the topic of Cable Management Tips for a Clean Motherboard Installation so stay tuned for more details. At the end of my first build the problem of untidy cables that cause frequent overheating has shown me just how important this part actually is! If these tips ever come in handy, don’t miss out on our tips that will guide you on how to avoid some of these pitfalls and keep your PC optimal.
Table of Contents
Preparation: Laying the Groundwork
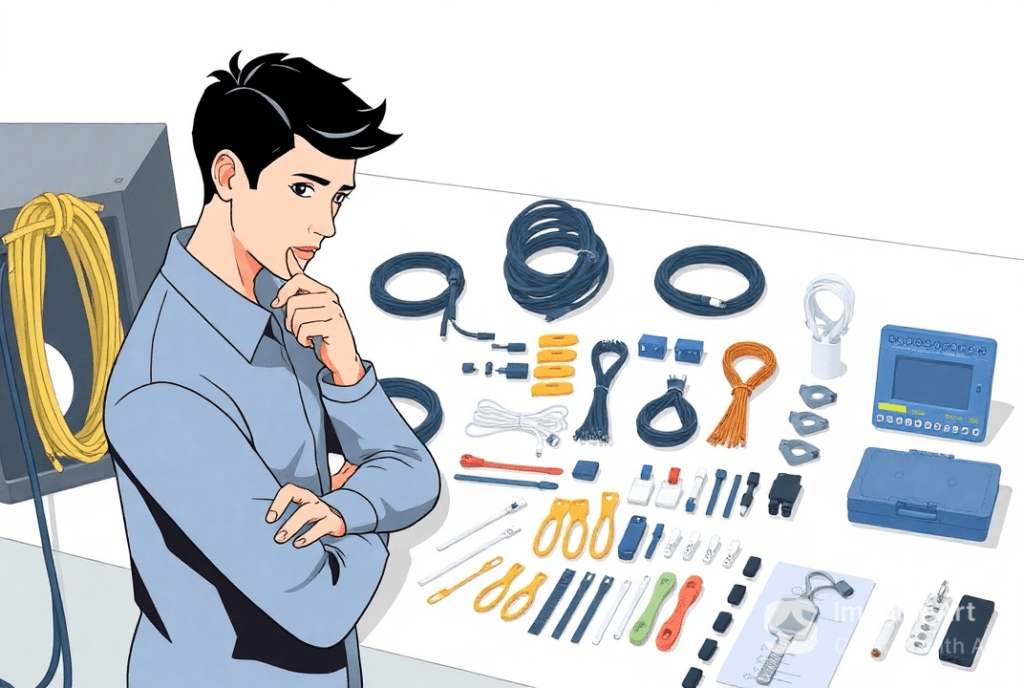
Tools You’ll Need
Before you begin, gather essential tools for effective cable management:
Cable ties: Small plastic tight loop fasteners and recycled velcro ties.
- Cable sleeves: A case of fabric or plastic where cables can be bundled into.
- Wire cutters: For trimming excess zip ties.
- Cable combs: To accord properly with individual cables.
- Magnetic screwdriver: likely because of some fairly obvious reasons, for instance, to facilitate the installation of the various components involved.
Having the right tools on hand will make the process smoother and prevent frustration.
Understanding Cable Types
To manage cables effectively, you need to understand the types of cables in your system:
- Power Supply Cables: Includes 24-pin ATX, 8-pin CPU, and PCIe cables for the GPU.
- Peripheral Cables: SATA cables for drives, fan headers, and RGB connectors.
- Data Cables: Front-panel USB, SATA data cables, and audio headers.
Setting Up Your Workspace
- Use a large, well-lit area with plenty of room to spread out components.
- Wear an anti-static wrist strap to protect sensitive components.
- Keep all your tools and accessories within easy reach.
Selecting Components for Clean Cable Management

Choosing a Cable-Friendly Case
Opt for a PC case with features that simplify cable management:
- Ample space behind the motherboard tray for cable routing.
- Rubber grommets and pre-drilled cutouts for easier routing.
- PSU shroud to hide excess cables and maintain a clean look.
- Examples: NZXT H510i, Corsair 4000D, and Phanteks Eclipse series.
Opting for Modular or Semi-Modular PSUs
A modular PSU means that you can plug only the cables you want and thus unclutter your rig. As a result of this, the routing is easier and there is also better air flow than with non modular PSUs for which all cables are permanently fixed.
Investing in Quality Cables
- Use pre-sleeved or custom cables if you want to have a good looking cable.
- Use shorter cables for those enclosures where space is a limiting factor such as Mini-ITX cases.
- For difficult layouts, purchasers should consider cable extenders.
Planning Your Cable Management Strategy
Mapping Cable Routes
- Identify the best paths for each cable to minimize visibility.
- Use the cutouts and cable channels in your case for routing.
- Avoid crossing cables unnecessarily to maintain a clean look.
Prioritizing Major Connections
Start with the most critical and bulky connections:
- 24-pin ATX connector: Route through the nearest cutout to the motherboard.
- 8-pin CPU power connector: Guide it through the top or rear cutout.
- PCIe cables for GPU: Use the shortest and cleanest route possible.
Labeling and Sorting Cables
- Use colored cable ties or labels to group cables by function.
- Keep similar cables (e.g., SATA and fan headers) bundled together.
Read More : Mini-ITX vs Micro-ATX vs ATX: Which Form Factor Fits Your Needs – 2025!
Installing and Managing Cables

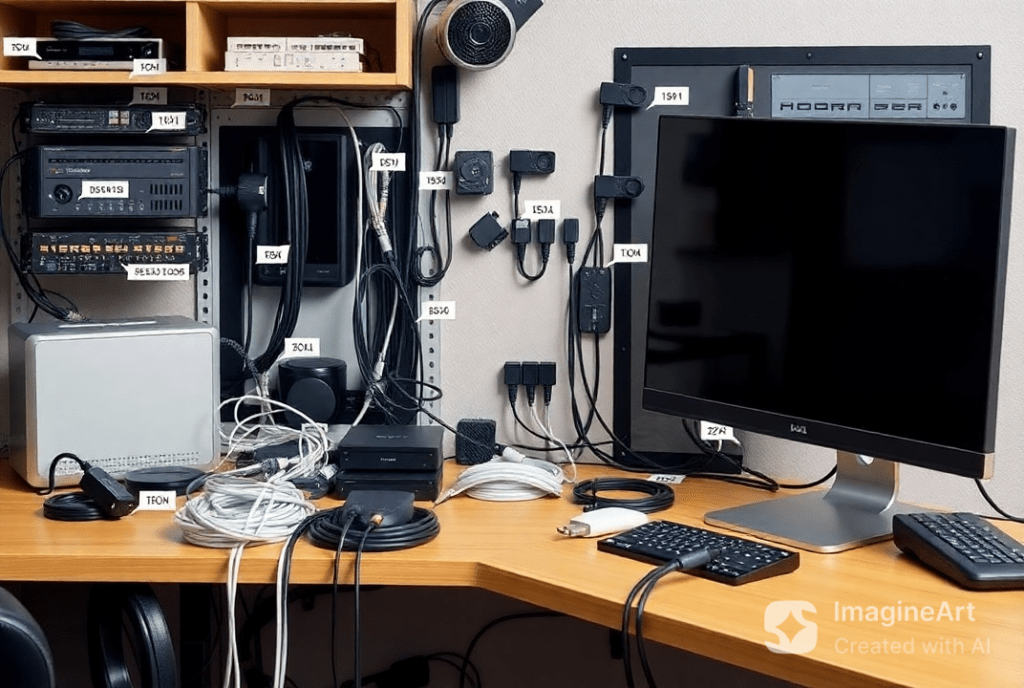
Behind-the-Motherboard Cable Management
- Route cables through the back panel to keep the front clean.
- Use velcro ties or clips to secure bundles to the chassis.
- Avoid over-tightening zip ties, which can damage cables.
Front-Facing Cable Management
- Minimize visible cables by routing them behind the motherboard tray.
- Hide GPU and fan cables using rubber grommets.
- Consider vertical GPU mounts for a streamlined look.
Dealing with Excess Cable Length
- Fold and secure excess cable lengths with velcro ties.
- Tuck unused cables into the PSU shroud or drive bays.
- Ensure all excess cables are zipped separately to avoid tangling.
Using Cable Combs and Sleeves
- Cable combs help align individual wires for a tidy appearance.
- Sleeves can bundle multiple cables together, adding a uniform look.
Troubleshooting Common Cable Management Issues
Tight Spaces and Poor Access
- Use flexible cables for tight areas.
- Modify your case by adding additional cutouts if necessary.
Cable Sagging and Loosening
- Secure cables with adhesive clips to prevent sagging.
- Recheck all connections after routing to ensure stability.
Heat and Airflow Obstructions
- Keep cables away from airflow-critical zones.
- Use cable ties to keep bundles flat against the chassis.
Maintaining Your Cable Management
Routine Inspections and Cleaning
- Regularly check and tighten cable ties.
- Remove dust build-up from cable bundles and fans.
Preparing for Upgrades
- Keep spare cable ties and extensions on hand.
- Document your current setup to simplify future upgrades.
Read More : Motherboards for AI Workstations: AMD vs Intel in 2025
Pro Tips for Advanced Cable Management
- Custom Cable Sleeving: For enthusiasts, create unique sleeved cables to match your build’s color scheme.
- Daisy Chaining: Link multiple fans or RGB headers for cleaner routing.
- Splitters and Hubs: Use fan hubs and splitters to reduce cable clutter.
FAQs
1. What are reasons for requiring cable management during a motherboard installation?
Proper cabling enhances space ventilation, keeps dust away and eases cable organizing time when changing the compilation.
2. How do I hide excess cables?
Another is to use the PSU shroud or drive bays to tuck unused cables, and then tie them up with velcro ties.
3. What tools are essential for cable management?
You’ll need zip ties, velcro ties, cable combs, wire cutters, and a magnetic screwdriver.
4. Can I improve cable management in a small case?
Yes, flexible cables should be used, components should be compact in size and while designing each LOG should be planned.
5. Should I buy a modular PSU for better cable management?
A modular PSU allows you to remove the unnecessary cables and allows better airflow in your case.
Conclusion
Proper cable management is crucial for a clean and efficient motherboard installation. It optimizes the flow of air around the system components, clears up workspace and adds to the looks of the system. This can be done by using cable ties, modular PSUs and cable sleeves making the work easier and professionals. Selecting a cable-friendly case and planning routes strategically minimizes visible wires and optimizes space. Regular maintenance keeps your setup organized and ready for upgrades. With these tips, you ensure your build remains neat, fully functional, and aesthetically pleasing and professional.