I panicked when my PC showed a CPU fan error on boot, but this guide’s 7-step fix saved me! From tightening loose connections to updating my BIOS, I resolved the error and learned how to prevent future crashes. Now, my rig runs cooler—no more frantic shutdowns or overheating anxiety!
Facing a CPU fan error on boot? This 7-step guide tackles everything from loose connections and BIOS updates to faulty fans, helping you diagnose and fix overheating risks quickly. With clear, actionable fixes and preventative tips, restore your system’s stability—no advanced skills needed!
Stay tuned—we’re breaking down the CPU fan error on boot with a step-by-step fix guide to rescue your PC! Learn how to dodge overheating disasters and keep your system running smoothly. 🔧 Don’t let a stubborn fan error crash your workflow!
Table of Contents
Common Causes of CPU Fan Errors

1. Hardware-Related Issues
Loose or Improper Fan Connections
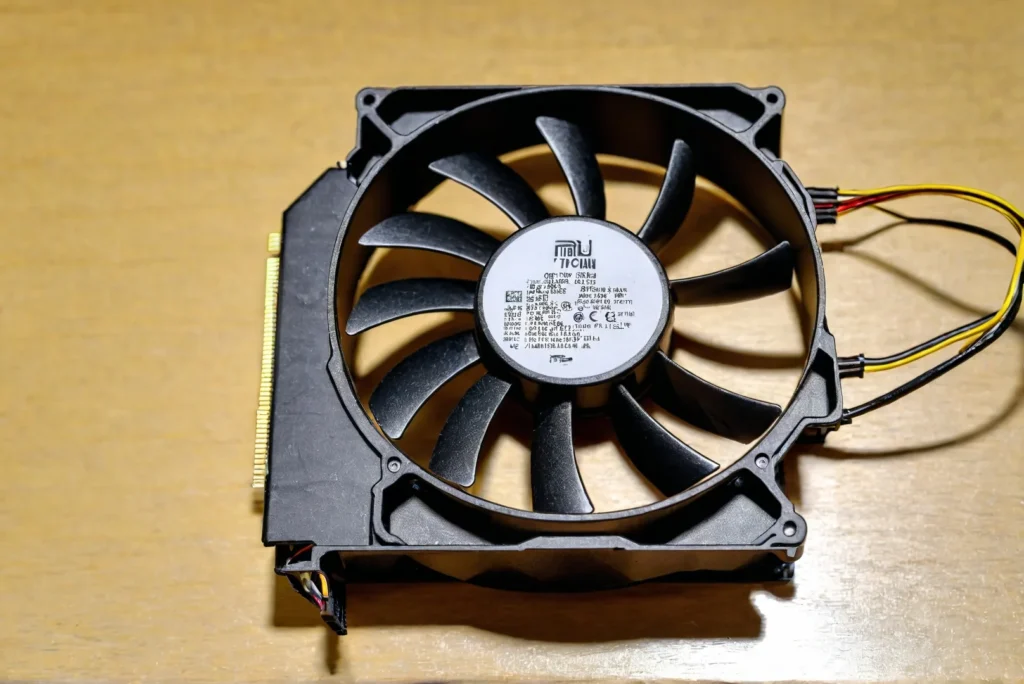
Vibration or improper installation can loosen the CPU fan’s 3-pin or 4-pin connector from the motherboard header. Older 3-pin (DC) fans lack PWM control, while 4-pin (PWM) variants adjust speed dynamically. A loose connection disrupts RPM feedback, triggering the error.
Faulty or Dying Fan
A failing fan often shows symptoms like grinding noises, uneven spinning, or RPM fluctuations below 600. Test it using a multimeter (5V/12V outputs) or swap it with a case fan temporarily.
Dust and Debris Buildup
Dust clogs fins and unbalances fans, reducing airflow. Use compressed air or anti-static brushes to clean. Severe buildup can drop cooling efficiency by 30%, falsely signaling errors despite functional hardware.
Incompatible Coolers
Aftermarket coolers with oversized heatsinks may block headers or apply uneven mounting pressure. Ensure compatibility with your motherboard’s socket (e.g., LGA 1700 or AM5).
2. Software/BIOS Configuration Problems
Outdated BIOS/UEFI
Firmware bugs in older BIOS versions misreport fan speeds. For example, ASUS Prime boards post-2021 updates introduced false RPM drops. Update BIOS cautiously to avoid power interruptions.
Incorrect Fan Monitoring Settings
Some motherboards label AIO pumps as “CPU_FAN,” causing confusion. Disable “CPU Fan Speed Lower Limit” in BIOS or switch headers to “CPU_OPT” for pumps.
Third-Party Software Conflicts
Tools like MSI Afterburner or NZXT CAM may override BIOS fan curves. Uninstall conflicting apps or reset settings to default.
3. Power Supply and Electrical Flaws
Overloaded Fan Headers
Splitting one header across multiple fans (e.g., using a Y-splitter) can exceed the 1A limit. Use a powered fan hub instead.
Voltage Instability
Test your PSU’s 12V rail with a PSU tester. Fluctuations under 11.4V may starve fans, causing erratic RPMs.
Step-by-Step Fixes for CPU Fan Errors
Step 1: Basic Physical Inspection
- Re-seat the fan connector firmly into the CPU_FAN header.
- Clean dust using compressed air (hold blades to prevent overspinning).
- Test the fan on a SYS_FAN header to isolate motherboard faults.
Step 2: BIOS Configuration Adjustments
- Enter BIOS/UEFI (press Del/F2 during boot).
- Navigate to “Hardware Monitor” or “Q-Fan Control.”
- Disable “CPU Fan Monitor” temporarily (not recommended long-term).
- Adjust fan curves to ensure RPM stays above 600.
Step 3: Update BIOS/UEFI Firmware
Download the latest BIOS from your motherboard’s support page (e.g., ASUS Support). Use a UPS during updates to prevent bricking.
Step 4: Test or Replace the Fan
Swap the CPU fan with a known-working one. If the error disappears, replace the faulty fan. For PWM fans, ensure the 4th pin (blue wire) is intact.
Step 5: Check PSU and Electrical Connections
Use a multimeter to verify 12V output at the fan header. Replace the PSU if voltages dip below 11.4V under load.
Step 6: Reapply Thermal Paste
Poor thermal paste application (e.g., uneven spreads or dried compound) causes overheating, forcing fans to max RPM. Clean the CPU/cooler with isopropyl alcohol and reapply a pea-sized dot.
Step 7: Reset BIOS to Defaults
Corrupted BIOS settings often cause false alarms. Reset via the “Load Optimized Defaults” option or CLRTC jumper.
Read More : Motherboard Not Detecting GPU? 7 Proven Fixes to Solve the Issue in 2025!
Preventative Measures to Avoid Future Errors
Optimize Case Airflow
Use a positive pressure setup (more intake fans) to reduce dust. Position CPU fans to align with rear/top exhaust paths.
Regular Maintenance Schedule
- Clean fans every 3 months.
- Replace thermal paste annually.
- Update BIOS biannually.
Use Surge Protectors or UPS
Electrical noise from unstable grids can damage headers. A UPS like the APC Back-UPS filters surges and maintains steady voltage.
Custom Fan Curves
Tools like FanControl or Argus Monitor let you balance noise and cooling. Set aggressive curves for gaming rigs and quieter profiles for office PCs.
Real-World Case Studies
Case 1: False Error After BIOS Update
An MSI B550 user reported persistent CPU fan errors post-BIOS update. Rolling back to version 1.80 resolved the bug.
Case 2: Dust-Clogged Office PC
A Dell OptiPlex intermittently threw errors due to dust blocking airflow. Deep cleaning dropped idle temps from 65°C to 42°C.
Case 3: Overclocking-Induced Errors
Overclocked i9-13900K systems tripped errors when fan curves lagged behind heat spikes. Adjusting curves to 100% at 70°C fixed instability.
FAQs
1. Why does the CPU fan error persist with a new fan?
Faulty motherboard headers or PSU issues may still disrupt RPM signals. Test with a different header or PSU.
2. Can I plug a case fan into the CPU header?
Yes, but ensure it’s PWM-compatible. Avoid 3-pin fans, as they may not meet RPM thresholds.
3. Is it safe to run a PC without a CPU fan?
Only for brief BIOS checks. Modern CPUs throttle at 100°C, but prolonged use risks permanent damage.
