
Having Wireless connectivity issues on your new or old motherboard? Through trial and error on a few different problems, I concluded a few basic tricks I discovered based on BIOS settings, current drivers, and obvious hardware fixes that worked. Below are my tested ways to solve Wi-Fi not working on your motherboard in the year 2025 so that you can start browsing again:
If your Wi-Fi is not working on a new or old motherboard, then you don’t need to panic! That is why there are several ways through which it can be solved. Some of the known procedures include; Use the following procedure to fix your Wi-Fi issues and have seamless connectivity in the year 2025.
Table of Contents
Start with BIOS Settings for Wi-Fi Activation
As for I/O options they are usually included to the motherboard and can be configured with the help of BIOS — Basic Input/Output System. In other cases, the main reason for Wi-Fi not working on your motherboard could be the fact that the Wi-Fi support has been removed in the BIOS. This is especially true sometimes when developing new systems, the BIOS may work with boot settings that can include disabling wireless connections like Wi-Fi for some purposes like adjusting power plan or otherwise.
How to Enable Wi-Fi in BIOS:
- Turn off your PC and immediately turn on your PC then press the BIOS Entry key which is Del ,F2, or Esc.
- Upon entering the BIOS menu, go to the Advanced submenu or Integrated Peripherals.
- Search for a menu item Wi-Fi, Wireless LAN, or other similar. Be certain that this characteristic is activated.
- Use hotkey (usually F10) to save and exit BIOS and then start your operating system.
It can detect and connect to Wireless Networks once these configurations have been done on your system.
Update or Reinstall Network Drivers
One of the most common reasons Wi-Fi stops working is outdated or corrupted drivers. Network drivers are essential for your motherboard to communicate with the Wi-Fi module, and if they’re not working properly, your system won’t be able to connect to Wi-Fi networks.
Steps to Update or Reinstall Network Drivers:
- Open Device Manager by right-clicking on the Start menu and selecting Device Manager.
- Locate the Network adapters section and expand it. Right-click on your Wi-Fi adapter and select Update driver.
- Follow the prompts to search for and install any available driver updates.
- If no updates are available or if the problem persists, try uninstalling the device. Right-click on the Wi-Fi adapter and select Uninstall device. After restarting your PC, Windows should automatically reinstall the necessary drivers.
- If that doesn’t work, visit the manufacturer’s website (such as MSI, ASUS, or Gigabyte) to manually download the latest Wi-Fi drivers for your motherboard.
Restart your computer after updating or reinstalling the drivers to ensure they take effect.
Ensure Proper Physical Connections: Wi-Fi Antennas
Few motherboards with integrated Wi-Fi possess external antennas that have to be connected to the corresponding ports of the motherboard. That is, if these antennas are not well connected, you may not even see your Wi-Fi signal or it will be very weak.
Steps to Check Antennas:
- Inspect your motherboard to ensure that the Wi-Fi antennas are connected to the designated ports.
- If the antennas are detachable, make sure they’re tightly screwed into place.
- Adjust the position of the antennas to get a stronger Wi-Fi signal. Wi-Fi performance can improve when antennas are positioned vertically and with some space around them for better signal reception.
Read More : Best Motherboard for Ryzen 9000: A Complete Guide to Top Picks and Key Features 2025!
Troubleshoot Hardware Failures

If software solutions do not work then one should start thinking about possible Hardware Failure mechanisms. That is why on-board Wi-Fi in motherboards can give way especially on old computers. Here are some signs that hardware failure might be to blame:
- No Detection of Wi-Fi Network: In rare cases they may not show any Wi-Fi networks at all, even if the user has tried most of the basic software solutions.
- Frequent Dropouts: If your Wi-Fi keeps on disconnecting, there may be a problem lying in the internal wireless card.
How to Test for Hardware Failures:
- Check for Visible Damage: Check the motherboard generally and the Wi-Fi chip particularly for burnage, cracks or other signs of wear that might include loose connectors.
- Use a USB Wi-Fi Adapter: If you are sure it is the hardware fault, then you can connect via a USB Wireless adapter. In the event that it does connect to the network then it could well be that the Wi-Fi module that is internal to the motherboard is on the blink and may require replacement.
Check Operating System Network Settings
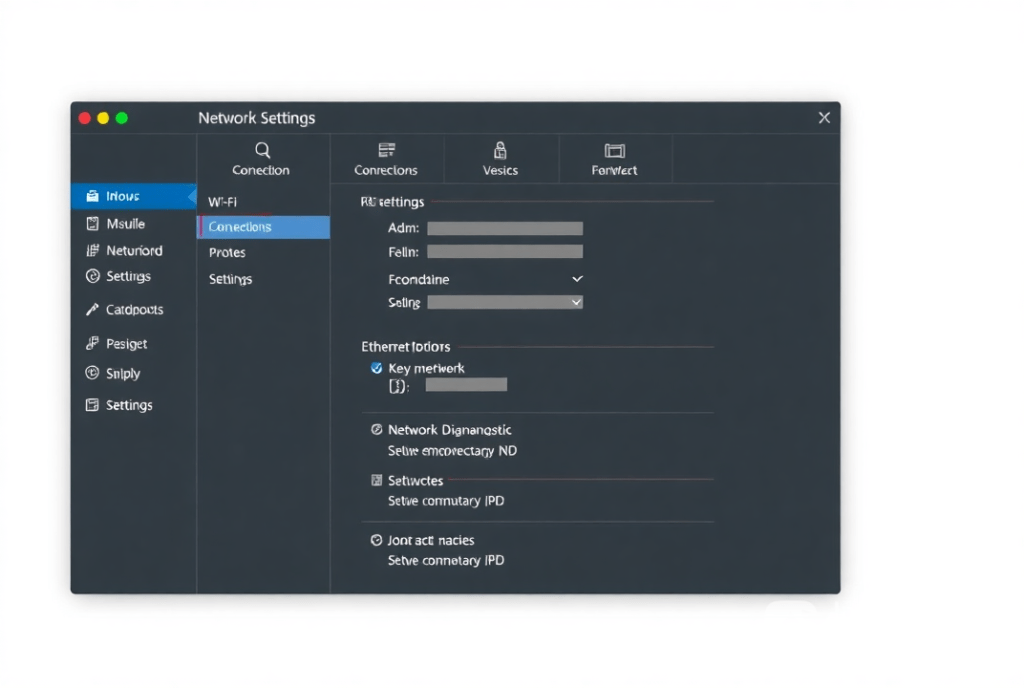
At other times the problem is with the network settings of the operating system that is being used. Wi-Fi can fail to work if the settings resultList or the network profile are set up wrongly; this excludes the possibility of faulty drivers or hardware.
Steps to Check Network Settings in Windows:
- Open Network Settings by right-clicking on the Wi-Fi icon in the taskbar and selecting Open Network & Internet Settings.
- In the Network & Sharing Center, make sure your Wi-Fi is enabled and connected to the correct network.
- If the network is not showing up, try disabling and re-enabling the Wi-Fi adapter. You can do this through Device Manager by right-clicking on the Wi-Fi adapter and selecting Disable, then Enable.
- Make sure that your network settings are set to Private (especially in Windows 10 or 11). This allows other devices to discover your PC and ensures proper communication over Wi-Fi.
Test Connectivity with Different Wi-Fi Networks
If your Wi-Fi is still not working after troubleshooting your motherboard and system settings, the issue may be with your Wi-Fi network itself. Test your system by connecting to different Wi-Fi networks to rule out problems with your router.
How to Test:
- Try connecting your system to a mobile hotspot or another Wi-Fi network, such as a friend’s or neighbor’s Wi-Fi.
- If your PC successfully connects to these networks but not to your own, the issue may lie with your home router or the configuration of your Wi-Fi network.
Router Troubleshooting
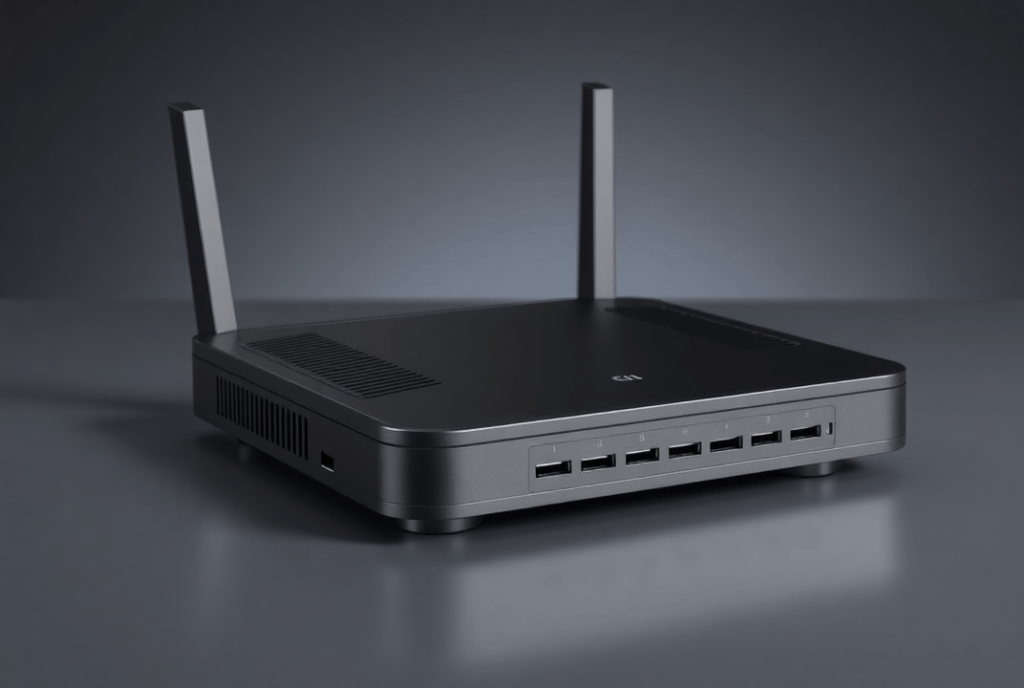
If other Wi-Fi networks are accessible to your system but your home network is not, then there could be a problem with your router. Here’s how to troubleshoot your router:
- Restart the Router: The most basic fix is to power cycle your router; unplug the router for about 30 seconds then plug it in back.
- Check for Interference: Make sure the router is located at a distance from devices that may hinder Wi-Fi connectivity including microwaves and old fashioned cordless phones.
- Update Router Firmware: Check the firmware updates by browsing the router admin panel login. It goes without saying that it is crucial to update your router firmware.
- Reset Router Settings: If issues persist, you may need to reset the router to its default settings. Be sure to back up your router’s configuration before doing this, as it will erase all custom settings.
Use Windows Troubleshooter for Wi-Fi Problems
Windows comes with a built-in troubleshooter that can automatically detect and fix many common Wi-Fi issues. Here’s how to use it:
- Right-click on the Wi-Fi icon in the taskbar and select Troubleshoot problems.
- Follow the on-screen instructions to let Windows detect and resolve any issues with the Wi-Fi adapter or connectivity.
Advanced Troubleshooting: Disable IPv6 & Adjust Power Management
Some advanced settings in Windows and on your Wi-Fi adapter can cause issues. Here are two advanced fixes you can try:
Disable IPv6:
Some users report that disabling IPv6 in network settings resolves connectivity issues:
- Open Network Connections, right-click on your Wi-Fi connection, and select Properties.
- Uncheck Internet Protocol Version 6 (TCP/IPv6).
- Click OK and test the Wi-Fi connection.
Adjust Power Management Settings:
Sometimes, Windows’ power management settings can disable your Wi-Fi adapter to save power:
- Go to Device Manager, find your Wi-Fi adapter, and right-click to select Properties.
- In the Power Management tab, uncheck Allow the computer to turn off this device to save power.
- Click OK and restart your computer.
FAQs
1. Why can I not find Wi-Fi on my new motherboard?
Quite often Wi-Fi simply fails to appear in the list of connected devices and network connections because of BIOS configurations, missing drivers, faulty antenna connections and many others. First; ensure the Wi-Fi is set in BIOS and drivers are correctly installed on the laptop.
2. How do I use laptop bios to turn on wifi?
This is done by shutting down the PC, powering it back on then accessing BIOS, navigating to the connection section under integrated peripherals or advanced tabs and enabling it.
3. What is the procedure to check if the Wi-Fi module which I used has gone bad?
: If your Wi-Fi connection issue is not solved through the software method, then use an external USB Wi-Fi adapter. If the external device is functional, then most probably the internal Wi-Fi module needs to be replaced.
4. Can router settings cause Wi-Fi issues on my motherboard?
Yes, incorrect router settings or router malfunctions can prevent your motherboard from connecting to Wi-Fi. Ensure your router is updated, and check for interference or connection issues.
Conclusion
There are many problems that may arises to Wi-Fi of motherboards, for example, it is settings of BIOS, drivers, problems of hardware, etc. This guide outlines simple troubleshooting procedures that you can follow in order to clear up Wi-Fi issues whether on a new or an older motherboard. This begins with fundamental solutions like checking BIOS settings and drivers, followed by the introduction of fundamental principles like testing with an external adapter or even resetting router configurations.