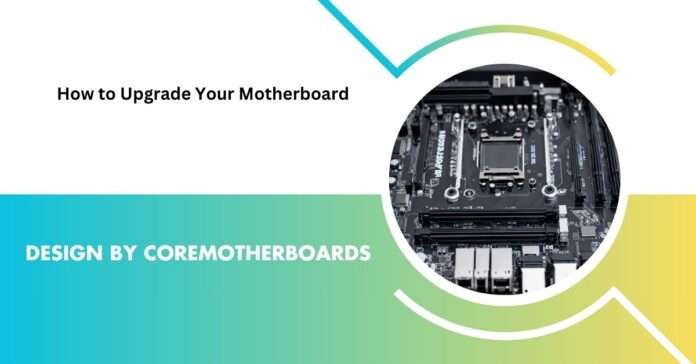
Upgrading my motherboard felt daunting until I learned the hard way: always start with a compatibility checklist—matching my CPU and RAM was a game-changer! Sweating through BIOS updates and cable management paid off when my PC roared to life, faster than ever. This hands-on journey not only revived my rig but also turned my tech fears into newfound confidence for future DIY projects.
Upgrading your motherboard can seem intimidating, but my DIY journey taught me three key steps: prioritize CPU and RAM compatibility, master BIOS updates, and tackle cable management patiently. With the right prep, swapping boards transformed my sluggish PC into a powerhouse—no tech wizardry needed. Learn from my trial-and-error to boost performance and confidence in your next upgrade!
Stay tuned—we’re diving deep into how to upgrade your motherboard without the headaches! From picking the right CPU to nailing BIOS settings and cable chaos, we’ll turn your upgrade jitters into confidence. Ready to transform your rig? Don’t miss our step-by-step guide!
Table of Contents
How to Upgrade Your Motherboard: Pre-Upgrade Preparation

Before touching a screwdriver, meticulous planning ensures a smooth upgrade.
Compatibility Checklist
CPU Compatibility:
- Intel’s 13th/14th Gen CPUs require LGA 1700 sockets (Z790/B760 chipsets). AMD Ryzen 7000-series CPUs need AM5 sockets (X670/B650).
- Check if your new motherboard supports your CPU’s TDP (Thermal Design Power). High-end CPUs like the i9-14900K demand robust VRMs (Voltage Regulator Modules).
RAM Compatibility:
DDR5 is now mainstream, but confirms your board’s max speed (e.g., 7200 MT/s). Enable XMP (Intel) or EXPO (AMD) profiles in BIOS for optimal performance.
GPU & PCIe Slots:
Ensure PCIe 5.0 x16 slots for RTX 40-series GPUs. Measure clearance for large cards like the RTX 4090 (3-4 slots wide).
Form Factor:
ATX (standard), Micro-ATX (compact), or Mini-ITX (tiny builds). Match your case’s standoff positions to avoid alignment issues.
Pro Tip: Use PCPartPicker to auto-check compatibility.
Backup & Data Safety
- Use Macrium Reflect or Windows’ built-in backup tool to create a system image.
- Store critical files on external drives or cloud services like Google Drive.
Tools & Equipment
- Anti-static wrist strap: Prevent electrostatic discharge (ESD) by grounding yourself.
- Thermal paste: Arctic MX-6 offers excellent heat conductivity for reapplying CPU coolers.
How to Upgrade Your Motherboard: Step-by-Step Process
1. Removing the Old Motherboard
1. Disconnect Power: Unplug the PSU and hold the power button for 10 seconds to discharge capacitors.
2. Remove Components:
- GPU: Press the PCIe slot latch and gently pull.
- CPU Cooler: Twist gently to break thermal paste seal.
- Storage: Label SATA/NVMe drives to avoid confusion later.
3. Unscrew Standoffs: Use a magnetic screwdriver to avoid losing screws.
Common Mistake: Forgetting the I/O shield screws can warp the new motherboard.
2. Installing the New Motherboard
1. Breadboarding (Pre-Testing):
Assemble the CPU, RAM, and GPU outside the case. Connect the PSU and power on to check for POST (Power-On Self-Test).
2. Mount the Motherboard:
- Install the I/O shield first—press firmly until it clicks.
- Align screw holes with standoffs; tighten diagonally to avoid flexing.
3. Reconnect Components:
- Front-panel headers (USB, power switch): Refer to the manual for polarity.
- CPU 8-pin and 24-pin power connectors: Ensure they’re fully seated.
Pro Tip: Use cable ties for cleaner routing and better airflow.
3. BIOS/UEFI Configuration
- Update BIOS: Download the latest version from the manufacturer’s site (e.g., ASUS EZ Flash).
- Enable XMP/EXPO: Boost RAM speeds instantly.
- Adjust Fan Curves: Use Q-Fan Control (ASUS) or Smart Fan (Gigabyte) to balance noise and cooling.
4. OS & Driver Setup
- Windows Reinstallation: Required for OEM licenses. Use a retail license to transfer OS.
- Drivers: Install chipset drivers first, followed by GPU and network drivers.
How to Upgrade Your Motherboard: Post-Installation Validation
- Hardware Recognition: Open Device Manager to confirm all components are detected.
- Stress Testing:
- Prime95: Test CPU stability.
- FurMark: Stress GPU for 30 minutes.
- Thermal Checks: Idle temps should be 30–40°C (CPU) and 40–50°C (GPU).
Read More: Z590 Motherboard: Is It Still Worth It in 2025?
How to Upgrade Your Motherboard: Advanced Tips
- Future-Proofing: Opt for boards with PCIe 5.0 M.2 slots for upcoming NVMe drives.
- Eco-Friendly Disposal: Recycle old boards via Best Buy’s e-waste program or GreenCitizen.
FAQs
1. Do I need to buy a new Windows license?
Retail licenses are transferable; OEM licenses are tied to the original motherboard.
2. PC won’t turn on after upgrading—what’s wrong?
Double-check the 24-pin and 8-pin CPU power connectors. Reset CMOS if needed.
3. Can I reuse my old CPU cooler?
Only if it supports the new socket (e.g., LGA 1700 brackets for Intel 13th Gen).
Conclusion
Mastering how to upgrade your motherboard unlocks your PC’s full potential. By prioritizing compatibility, static safety, and thorough testing, you’ll avoid costly mistakes. For more guides, explore our article on how to choose the best motherboard for gaming.
